DIY Shabby Chic Drawer Baby Prop | Decoupage Tutorial

Everyone loves a shabby chic moment, especially in the baby photography world! There are so many sweet vintage props around, and I couldn’t wait to add a bunch to my studio. After buying a few, I realized they’re not really vintage at all LOL. I looked at the designs closely and realized they were prints, not painted, and a little fingernail tap felt like a plastic coating, not the patina I was hoping for.

After some internet sleuthing, I learned about decoupage, the art of gluing paper to objects and sealing them. My DIY spidey senses started tingling, of course. I found some 1920s drawers for free on Facebook Marketplace and ran to grab them because I knew they’d be heavy and made from solid wood. The drawers plus some gingham print lunch napkins and a bottle of Mod Podge and I was ready to go, all for under $10.

Shop the post!

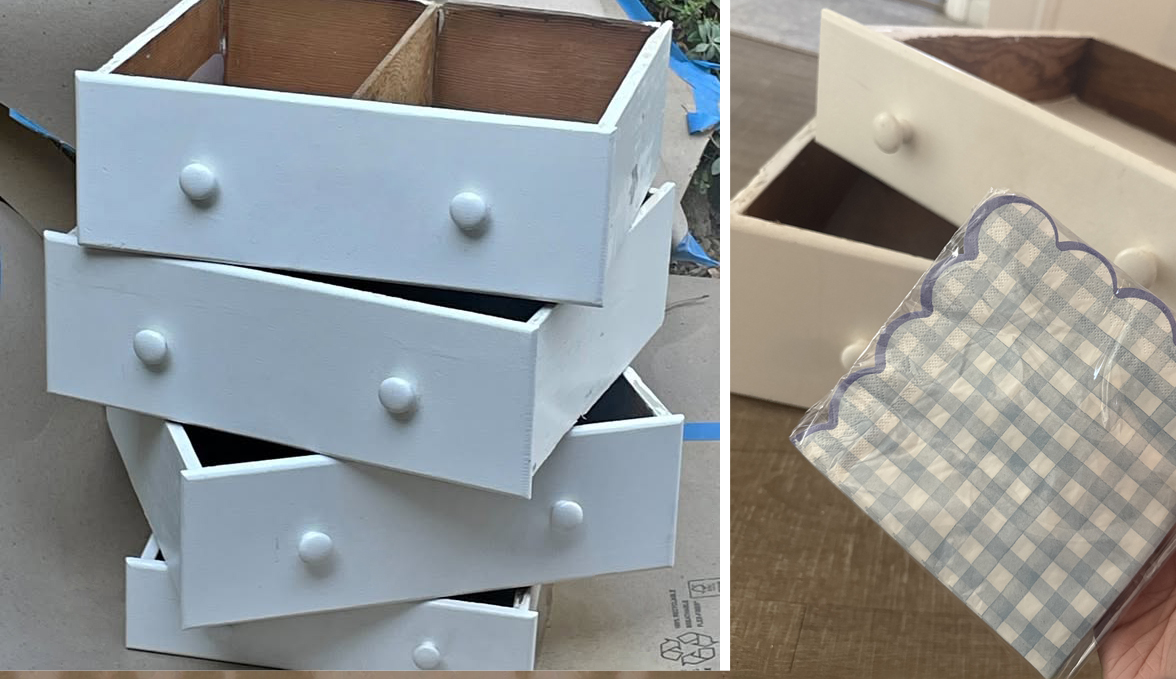
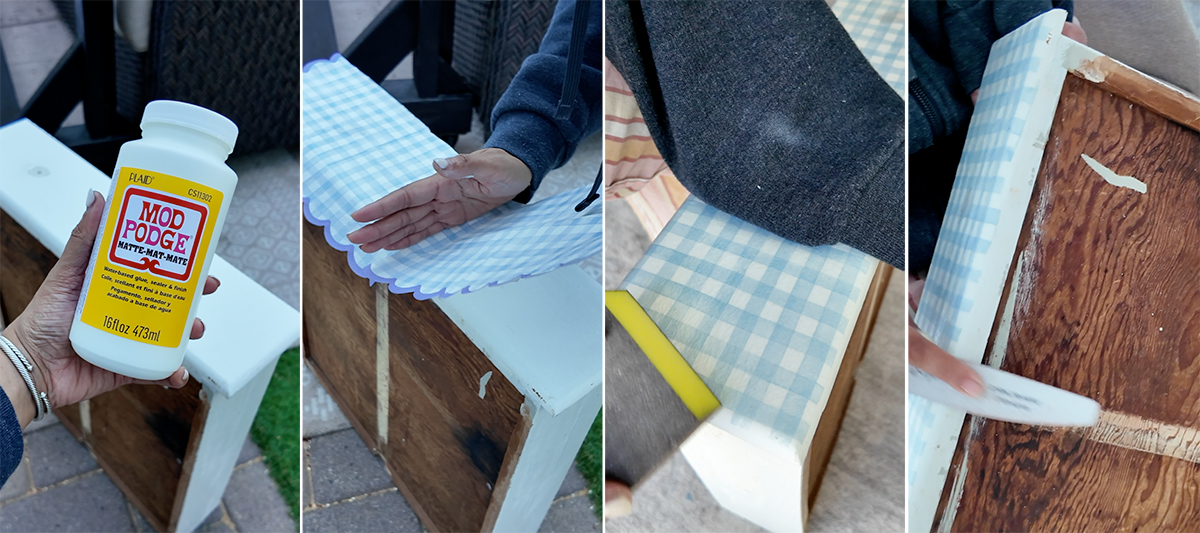
I started by lightly sanding the landlord special off the drawers, then brushed on a layer of matte Mod Podge. I peeled away the backing layers from a napkin so only the top printed layer remained, and pressed it onto the glue. I let it dry for about an hour and then sealed everything with another coat of Mod Podge and left it overnight.

The next day was the fun part: distressing! I scuffed up the edges with a sanding block and nail file until they had that authentically worn look. To make things look more aged, I brewed a cup of tea and quickly wiped it across the drawer face, then blotted it off. While it did add an aged look, I’m not sure I love the yellow tone. I might skip that step next time depending on the napkin print. I sealed it one last time with another layer of Mod Podge and swapped out the hardware for pretty ceramic knobs.

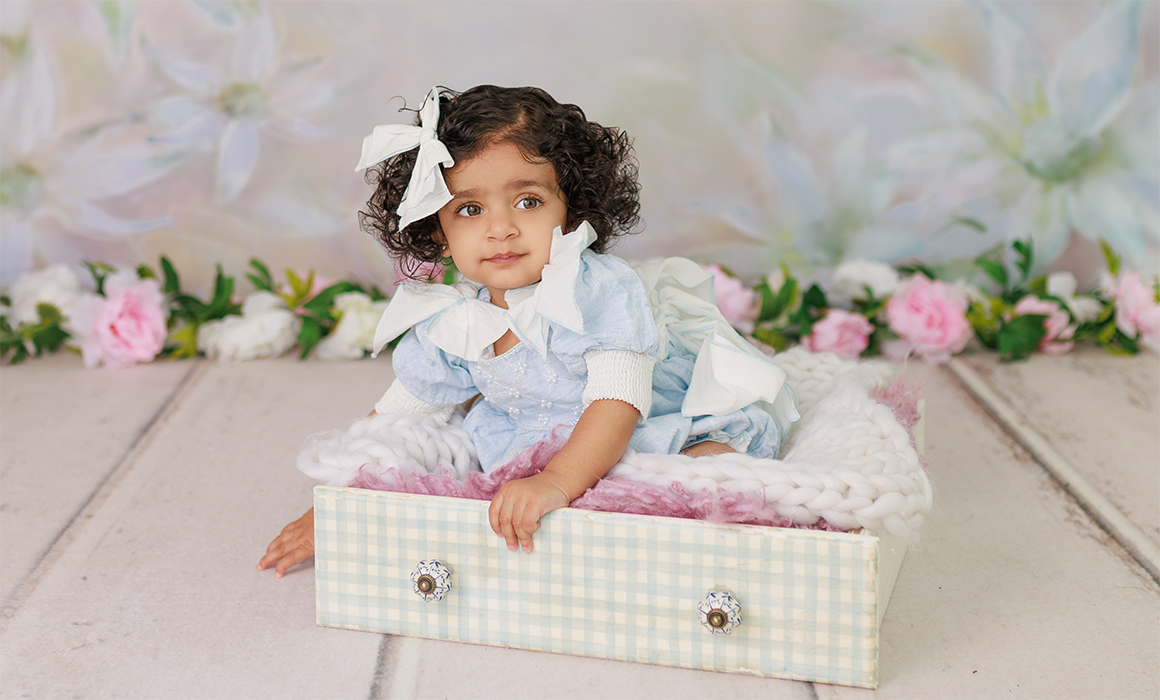
And that was it, a simple transformation that gave this drawer a whole new life.

Why I Love It

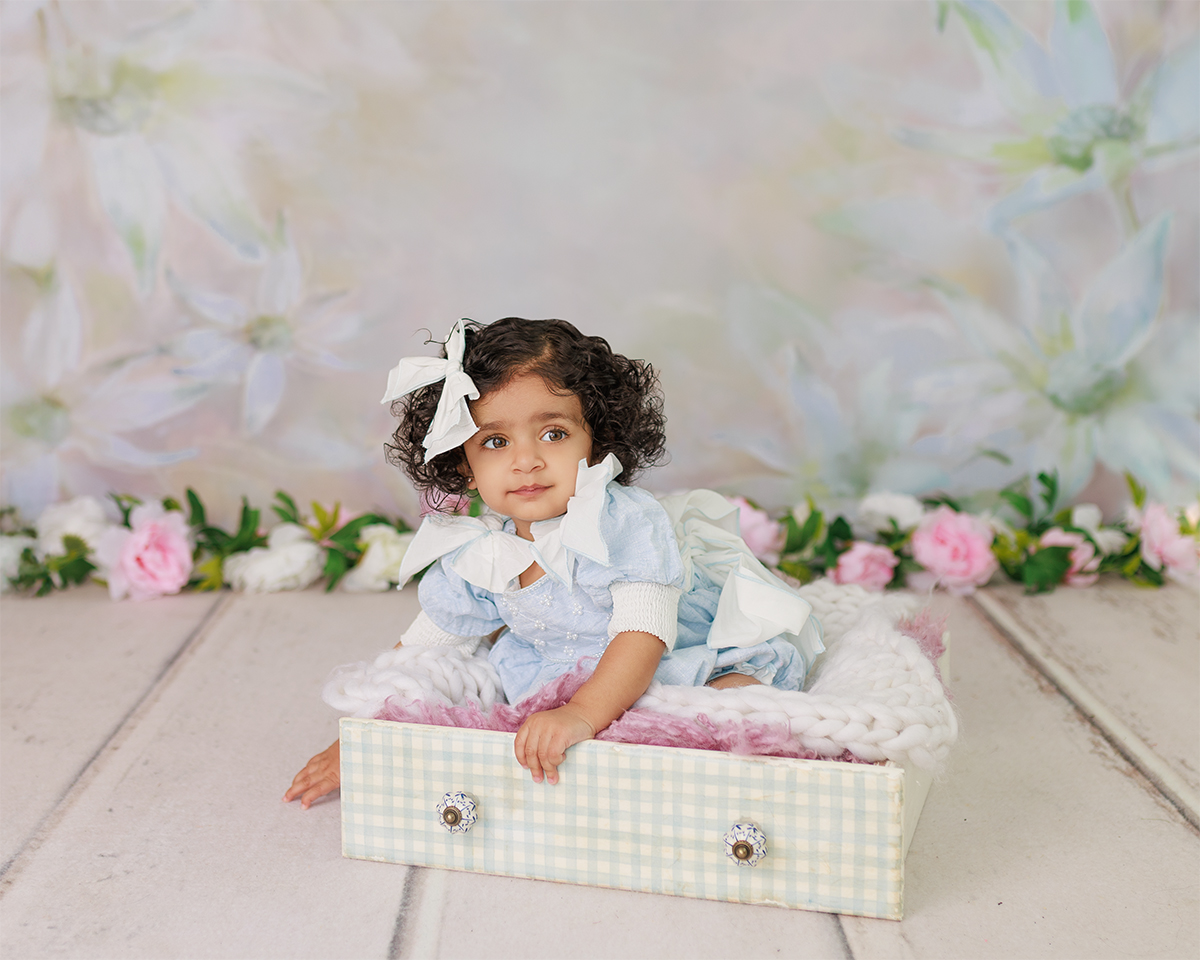
What I love most about this piece is that it feels personal. It’s not something mass-produced or labeled “vintage” in an online shop. It’s a drawer with history that I got to reimagine in my own way. The gingham print feels sweet and timeless, and the chippy edges give it character without looking overdone.

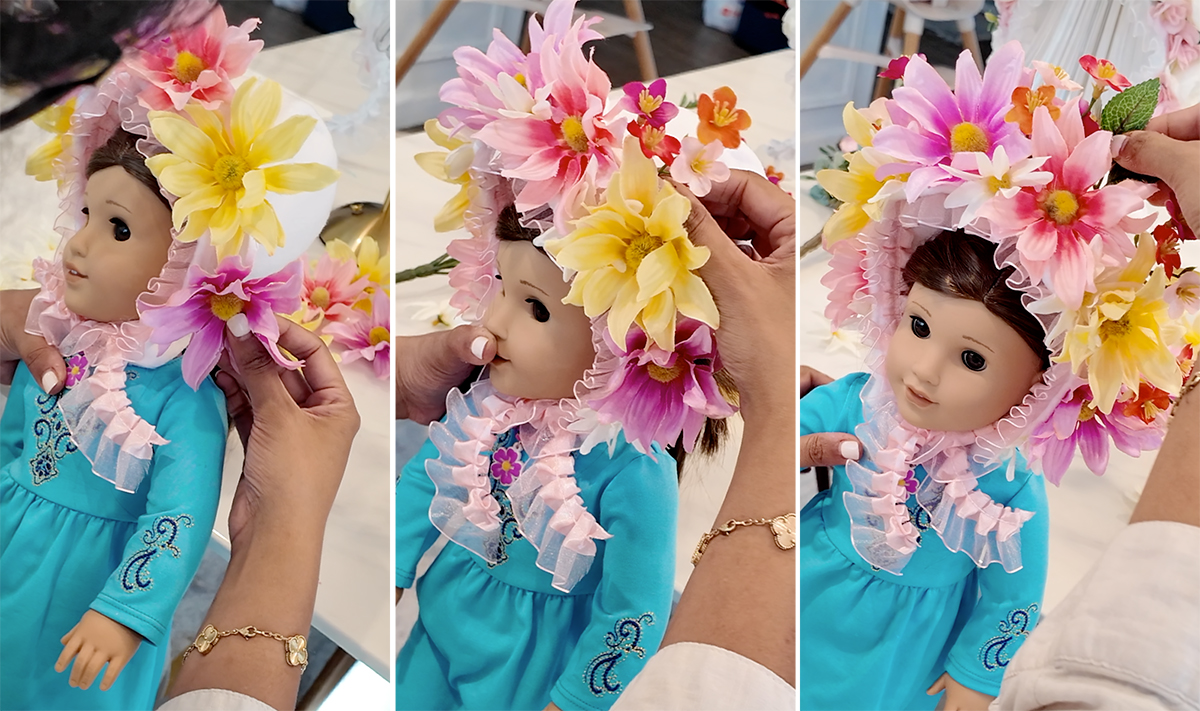
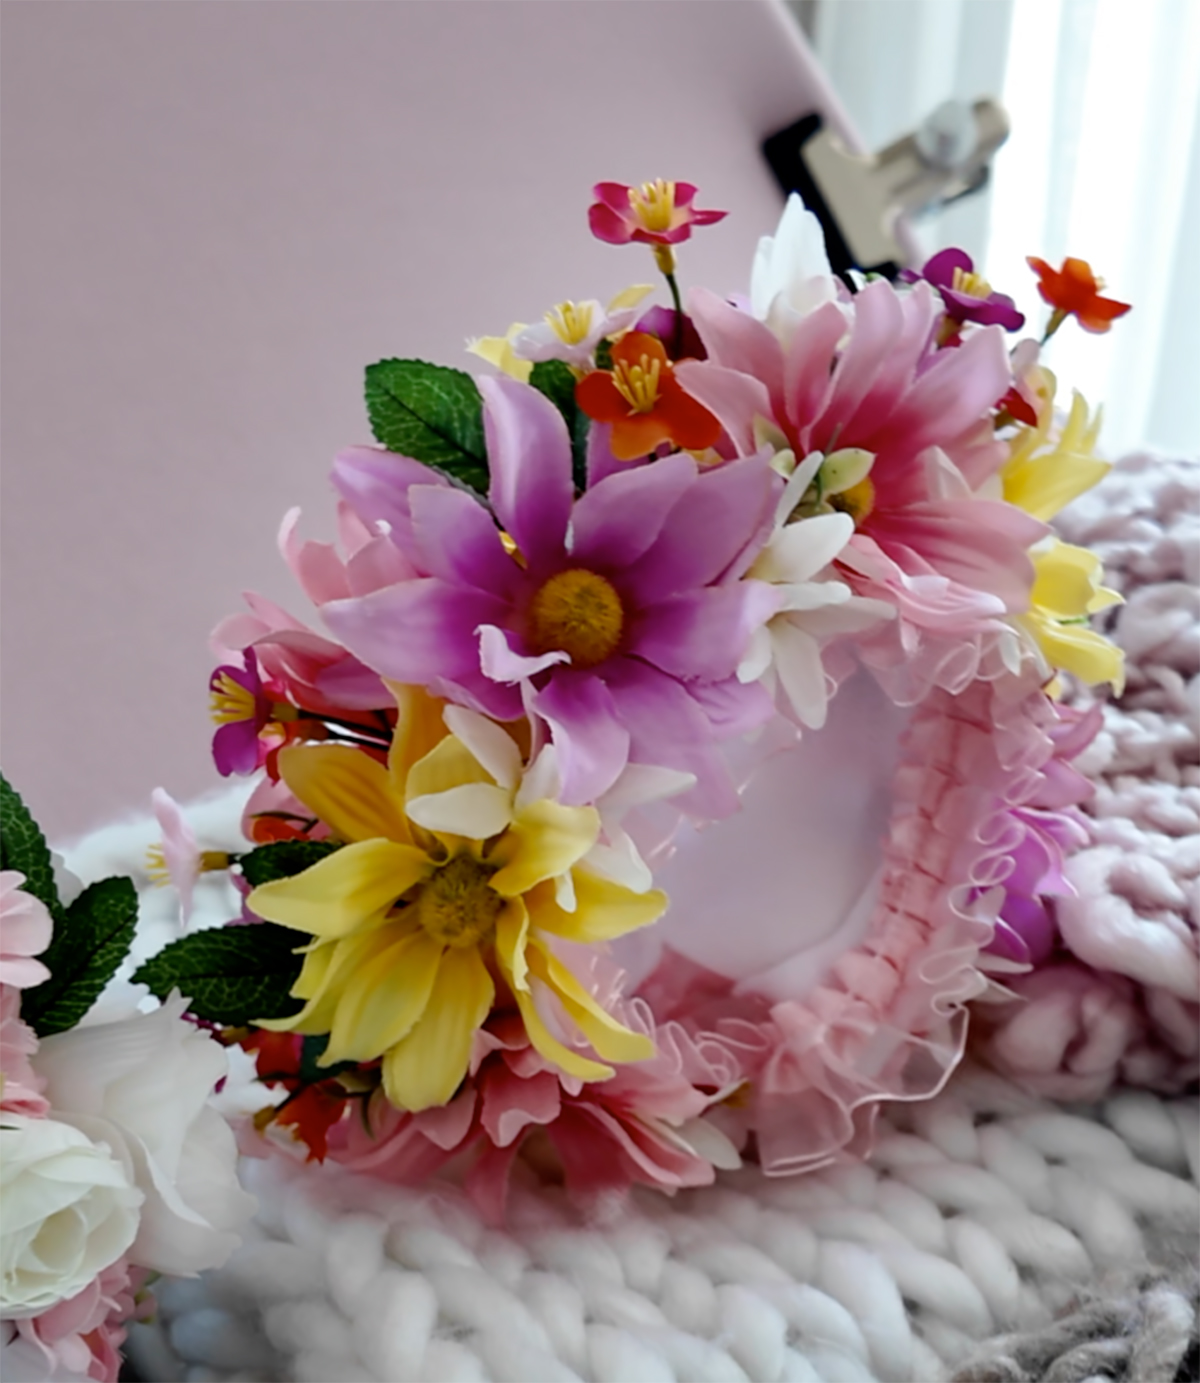
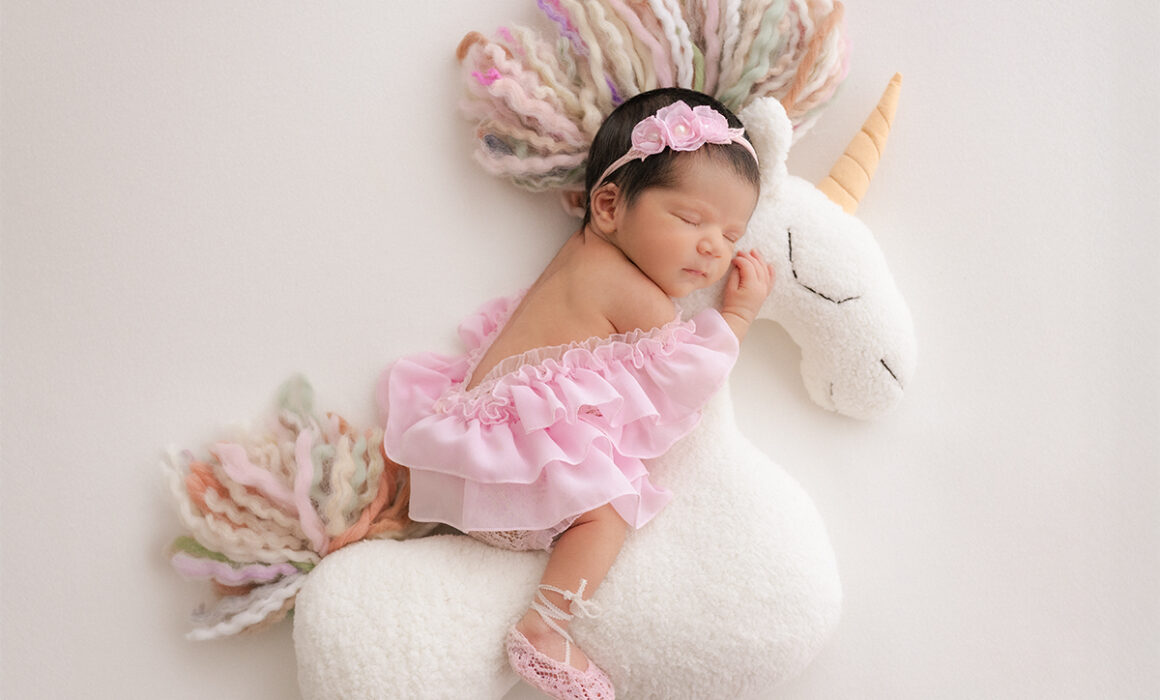
I had my first round of test shoots this past week and the drawer photographed beautifully! It feels good knowing it’s unique to my studio and made with my own two hands.

Ready to Book

I have a few more test shoots this week, and then I’ll officially be open for bookings! I just want to make sure my lighting and props are exactly how I envisioned them, so everything feels perfect for your babies. I can’t wait to start styling sessions with handmade touches like this. If you’d like to be one of my first sessions, you can get in touch here.


DIY Floral Bonnet for Sitter Sessions

One of my favorite baby photography trends is the “baby in a bucket” look paired with a floral bonnet. It’s whimsical, timeless, and just SO ridiculously cute.

Sitter sessions are seriously my favorite! They usually happen when babies are around six to nine months old, when they can sit steadily on their own but aren’t quite crawling yet. It’s such a sweet spot because they’re so full of smiles and personality, but not mobile enough to wiggle out of the frame.

My youngest daughter had her sitter session when she was eight months old and they’re still some of my favorite photos in the house! I knew I wanted to bring that same magic into my own photography studio one day.

Funny enough, I wasn’t planning on making my own bonnets at all! I actually went to buy some from a photographer who was selling her whole studio on Facebook Marketplace as she’s closing down. But the experience was so unpleasant that I left empty-handed and drove straight to the craft store instead. Out of pure spite, I gathered up supplies, made two myself that same day… and they turned out to be so much easier (and more fun) than I expected!

Floral Bonnet Process

I didn’t reinvent the wheel. I used a simple baby bonnet sewing pattern I found online as the base. I made mine out of a soft fleece fabric, then layered a pleated ribbon along the front edge. This not only frames baby’s face beautifully, but also gives a little separation so the flowers won’t sit directly against the skin.

Baby bonnet sewing pattern

DIY Floral Bonnet

For structure, I used something a little unconventional: the bottoms of foam cups! I cut them into half circles and glued them around the top of the bonnet, almost like sun rays or flower petals. They added height and gave me forward-facing surfaces to attach flowers to, which made the whole arrangement look fuller.

From there, it was all about playing florist. I bought two different faux flower bunches for each bonnet so I could mix and match styles. I started by placing the largest blooms first, filling in gaps with smaller flowers, and finally tucking in stems and greenery to give everything a natural, garden-like flow.

Why I Love Them

These little bonnets ended up being such a simple project, but they bring so much charm to a sitter session. Babies at this stage are so expressive and joyful, and pairing that with oversized floral crowns just feels magical.

I also love that no two bonnets will ever be exactly alike. The flowers I choose, the way they’re arranged, the mix of colors, it’s all unique, which makes each session feel personal.

I may not have set out to be a bonnet-maker, but sometimes a little DIY detour leads to something you didn’t know you needed. And in this case, it’s become one of my favorite handmade touches for milestone sessions.

Ready to Book

I’m so excited to keep creating pieces like this as I get closer to opening my studio. I’ll officially be ready to start taking bookings in September, and I would love to work with families who want to capture this sweet stage. If you’d like to be one of my first sessions, you can get in touch here.


DIY PVC Newborn Posing Table

As I get closer to officially opening my Los Angeles newborn photography studio, I’ve been working hard behind the scenes to make sure every piece of my setup is not only beautiful but practical. I spend hours thinking through how each session will flow, how I’ll move around safely with newborns, and how to make everything as comfortable as possible for the babies, their parents, and myself.

Read More

DIY Newborn Posing Pillow for Photoshoots

As I get ready to open my newborn photography studio here in Los Angeles, I’ve been pouring so much love into every detail behind the scenes. One of the things I’m most excited about? This adorable unicorn newborn posing pillow I made myself!

All the cute ones I found online were shipping from overseas, and I didn’t want to wait weeks or risk quality issues. I imagined waiting all that time only to end up with something that felt more Temu than timeless. So, in true “I can do it myself” fashion, I did it myself lol!

Read More

Privacy Settings
We use cookies to enhance your experience while using our website. If you are using our Services via a browser you can restrict, block or remove cookies through your web browser settings. We also use content and scripts from third parties that may use tracking technologies. You can selectively provide your consent below to allow such third party embeds. For complete information about the cookies we use, data we collect and how we process them, please check our Privacy Policy
Youtube
Consent to display content from - Youtube
Vimeo
Consent to display content from - Vimeo
Google Maps
Consent to display content from - Google